Logitech Harmony and OSSC
Logitech Harmony Remotes and the OSSC
You can use a Logitech Harmony remote with the OSSC even if you do not have access to the standard OSSC remote unit. Simply follow the tutorial steps on this page. Thanks to Mantrox from the Shmups forum for this tutorial.
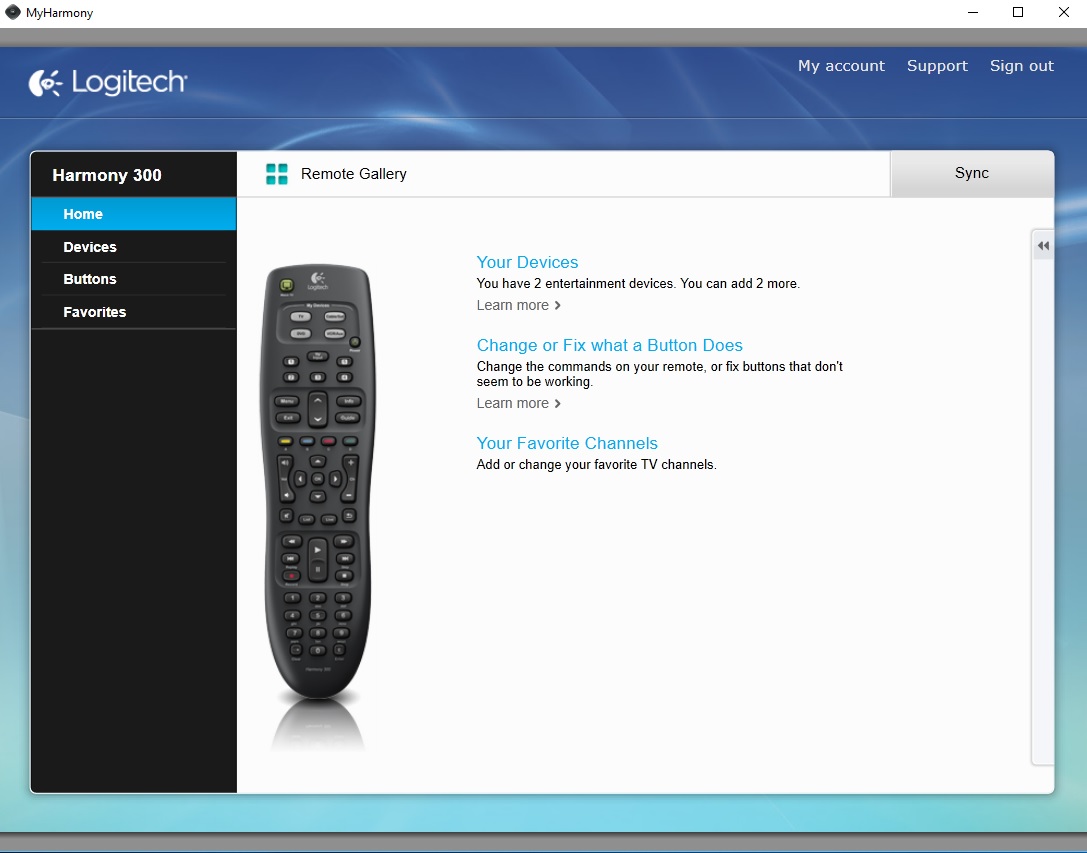
Step 1 - Connect your harmony remote to your PC and open the MyHarmony software provided by Logitech.
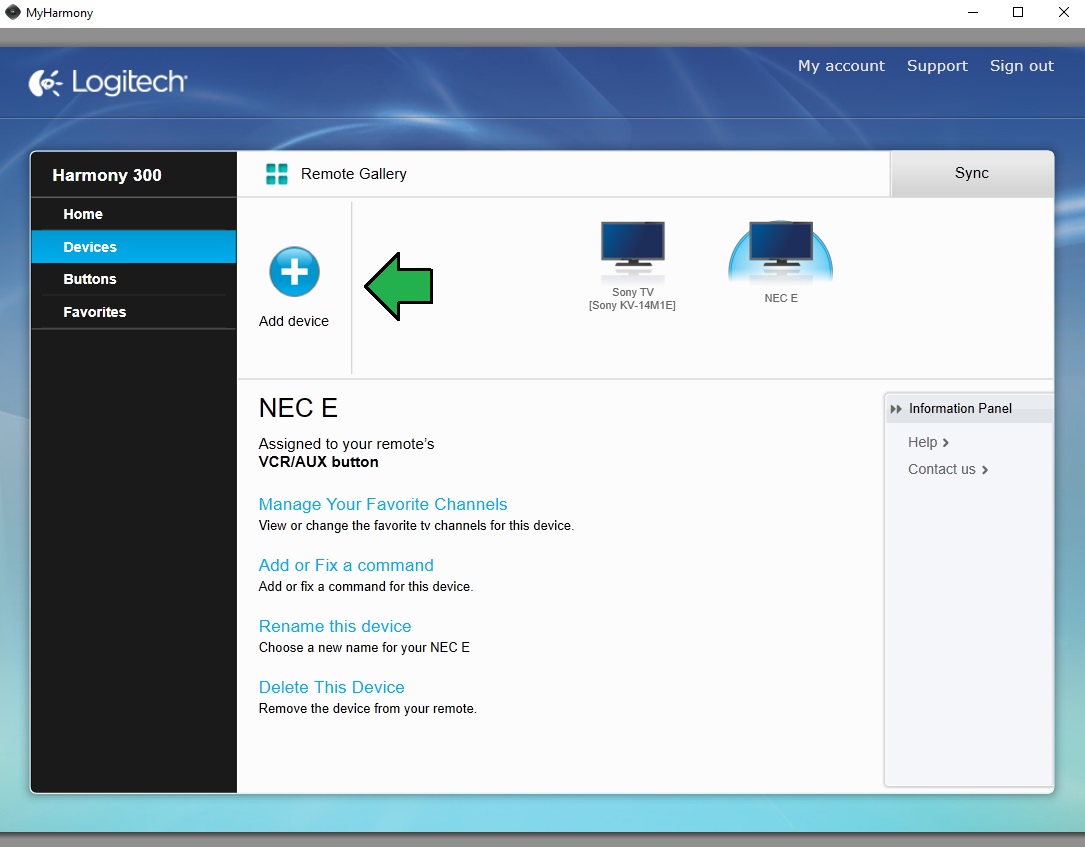
Step 2 - Select "add device" on the menu, to add a new device to the remote.
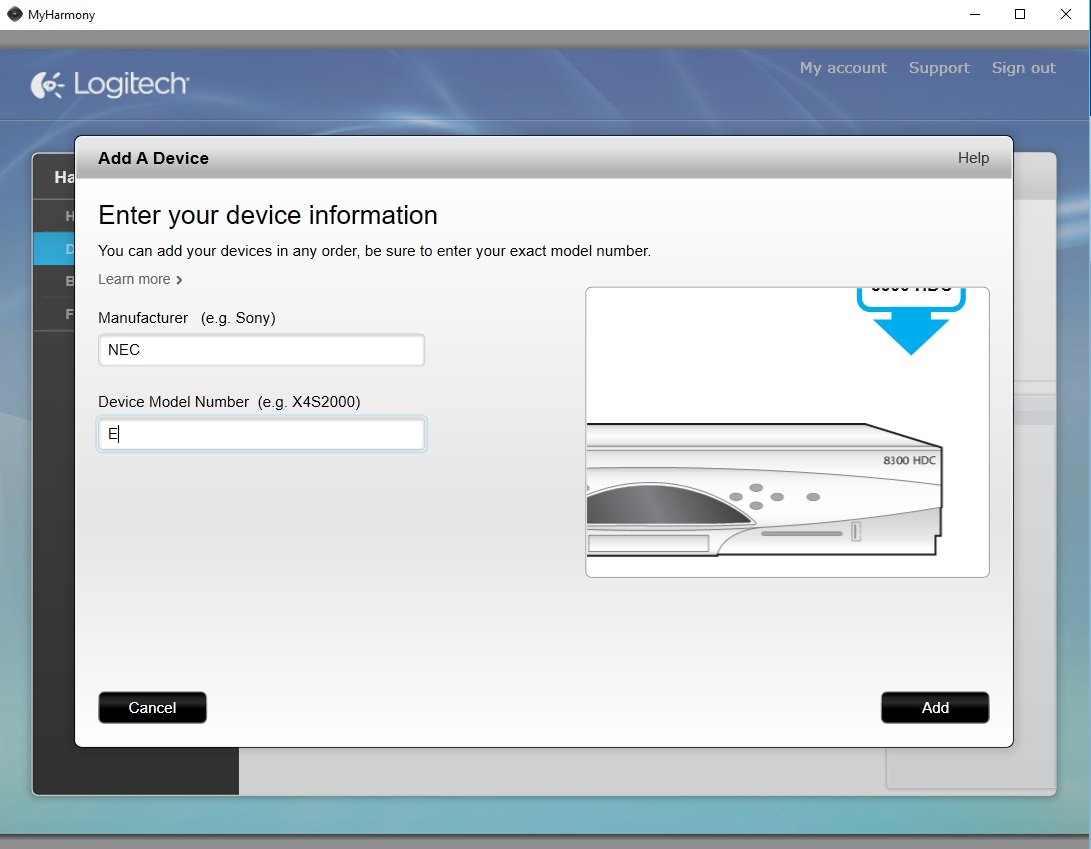
Step 3 - Type "NEC" on the manufacturer box and a letter on the model box, in this example I used the letter "E"; then click "Add".
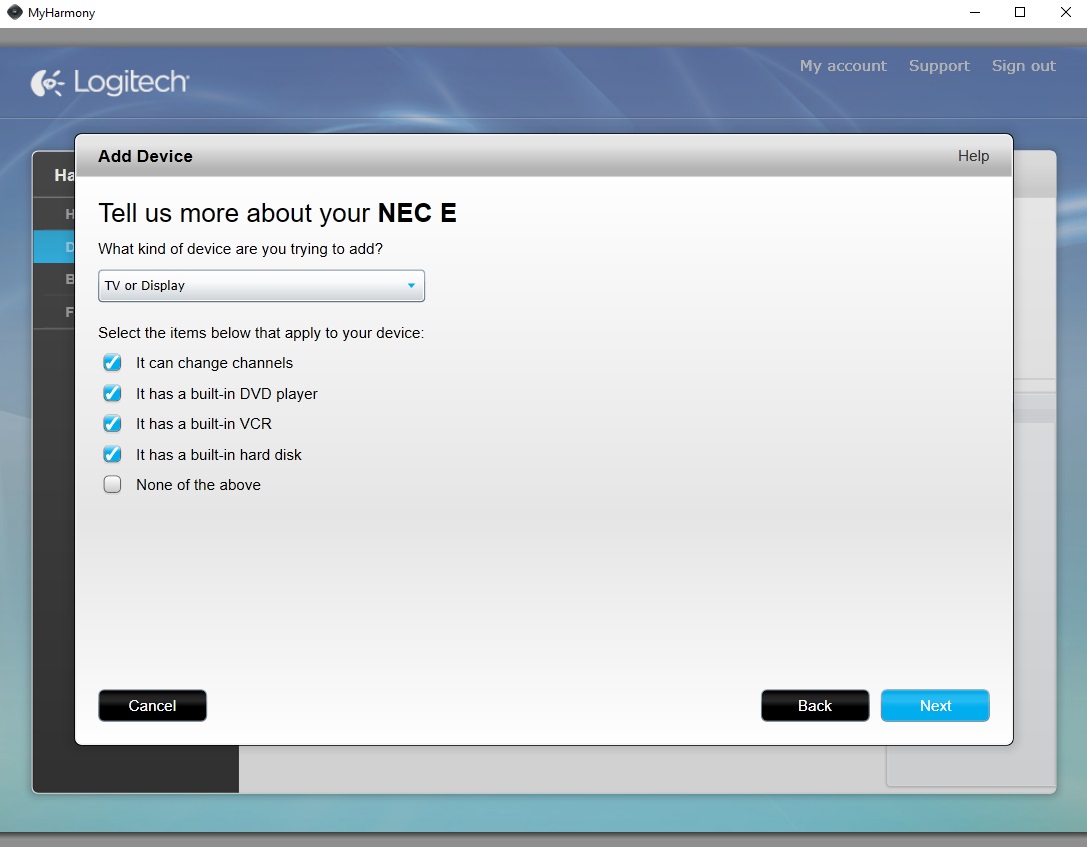
Step 4 - Now choose all of the options highlighted on the image and then click "Next".
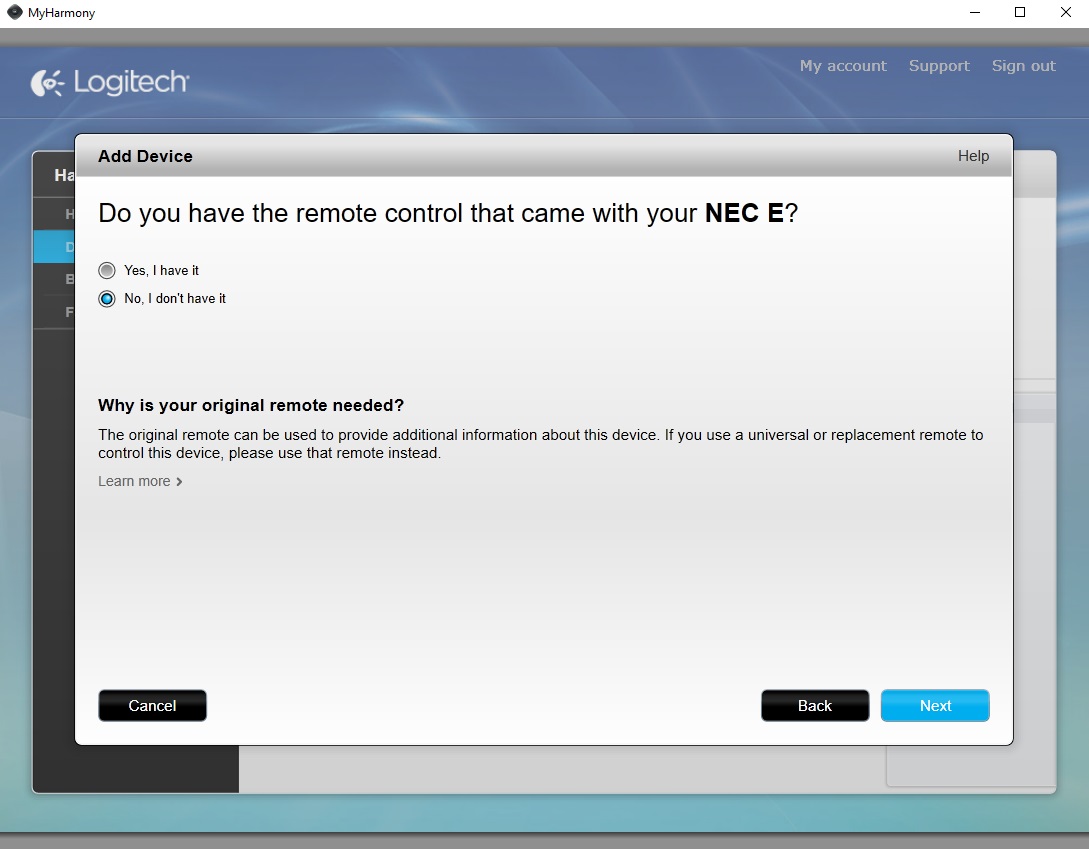
Step 5 - On this screen, select "No, I don't have it" and click "Next".
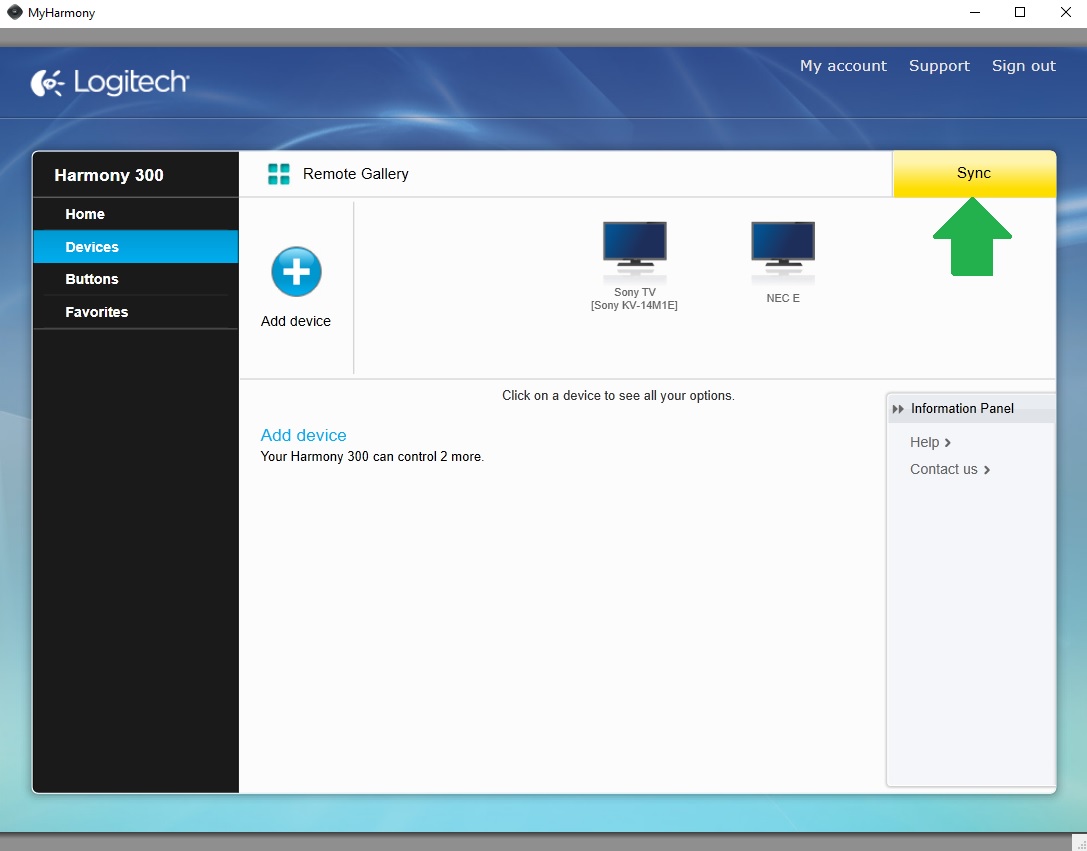
Step 6 - After pressing "next" the device is added on to your profile, and you can now press "sync" to send it to your remote.
Step 7 - When synchronisation is complete, point your remote towards the OSSC and try the buttons on your remote. When the OSSC receives an IR command, a LED light will blink on the unit, note which buttons make the LED blink. This indicates which IR codes work. In the pictured Harmony 300 for example all the numeric keys, menu buttons and directional buttons work.
Step 8 - Finally, power off the OSSC and power it on while holding the "BTN1" button to enter remote configuration. Now, the OSSC presents the name of the function on its LCD screen. Simply press the button you want to assign to this function on your remote twice.
Don't forget to save the settings after configuring the layout.
