Swapping/Upgrading your Morph 4K’s case
The Morph is designed as a modular scaler and swapping the device into a new case is a relatively straightforward process.
Contents
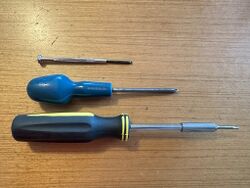
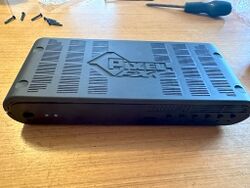
Recommended tools
From bottom to top in the picture:-
1) T10 screwdriver. This is required to fit the screws supplied with new cases.
2) Philips head screwdriver. This is required if you are disassembling an older Morph 4K. Note that the screws on the older Morph units were smaller than average and the pictured screwdriver may be too large. Be careful not so shear off the screws.
3) Small flat bladed 'jewellery' screwdriver. This is optional for helping fit the feet.
Removing the Morph 4K from the old case
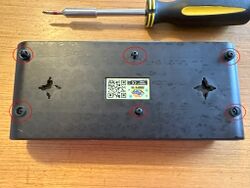
Step one – Remove the screws
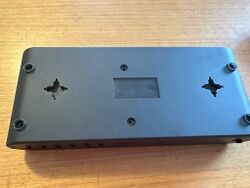
Remove the six screws on the base of the Morph4k’s case, as shown in the picture. If your Morph4k has feet installed where the screw holes are, carefully remove these first. You should be able to do this easily just by gripping the feet with your fingers and pulling.
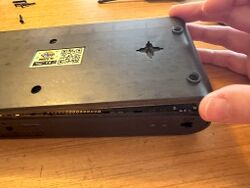
Step two – Remove the bottom and top of the case
Lift the sides of the bottom part of the case carefully to remove it, leaving the top and sides.
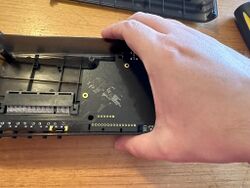
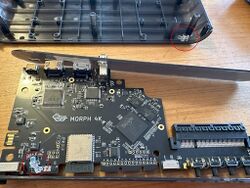
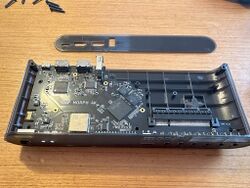
Now, grab the two side pieces and lift them out of the top part of the case, as shown in the picture below. The Morph’s PCB will come with them.
Step three – Do NOT lose the light pipes!
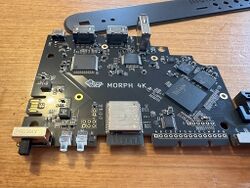
The small pieces of plastic circled in the picture below are the light pipes (click the image for a bigger view). These will likely fall from the motherboard as you disassemble the Morph. Be careful not to lose them!
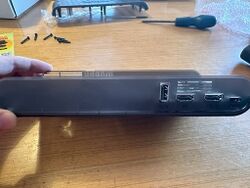
Step four – Remove front and back panels
Remove the old front and back pieces entirely and re-seat the light pipes if necessary.
Your Morph 4K is now ready to be transferred into its new case.
Putting the Morph4k in the new case
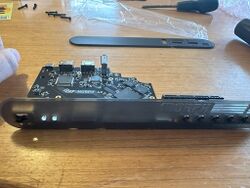
Start by carefully clipping the front part over the buttons and light pipes.
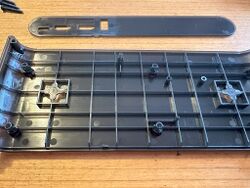
Prepare the bottom part of your new case. Check the orientation, the pillars which support the Morph’s motherboard must be on the left.
Now, holding the front panel with your thumb to keep it in place, carefully lift the front panel and Morph motherboard together and put them into the bottom part of the new case, check that the Morph motherboard aligns with the pillars and that the front panel is flush with the slot in the new case base. Check again to make sure the light pipes are still secure.
Next, install the back panel, sliding it into place and gently clipping it over the ports on the back of the unit. Check that it is flush and inserted fully before moving on.
Once you are satisfied, add the top piece of the case.
Hold the top piece in place with your hand and carefully flip the whole unit over. Now, install the new screws provided with your replacement case.
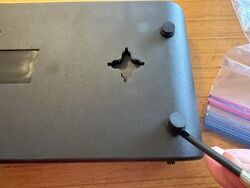
Next, install the rubber feet that came provided with your replacement case. These feet simply press in to the small holes on each corner of the unit.
The fit is very snug, so you may need to use a small, flat bladed screwdriver just to push the feet into the holes. Ensure that each foot is installed correctly and is level. Turn the Morph 4K over and stand it on its new feet, the unit should be perfectly stable.
Now, flip the unit over again, remove the backing from the provided replacement sticker and install it as per the picture below.
(picture)
Line up the edges of the sticker with the edges of the indentation then slowly lay it down and smooth it with your finger.
(picture)
Perfect! You can now turn the case over again.
(picture)
Congratulations, you have successfully installed your new Morph 4K case.
